C O I L : A History

Not every pattern I design has an extensive and well-documented history, but this one does. Initially inspired by a relatively straightforward graphic design, what I call C O I L has yielded so many variations and made its way into both quilts and garments.

It all started here:

Originally pinned to my Pinterest/Pattern Play Board.

This image lived on my Pinterest Pattern Play board for a long while before I started experimenting with ways to re-imagine it in patchwork.

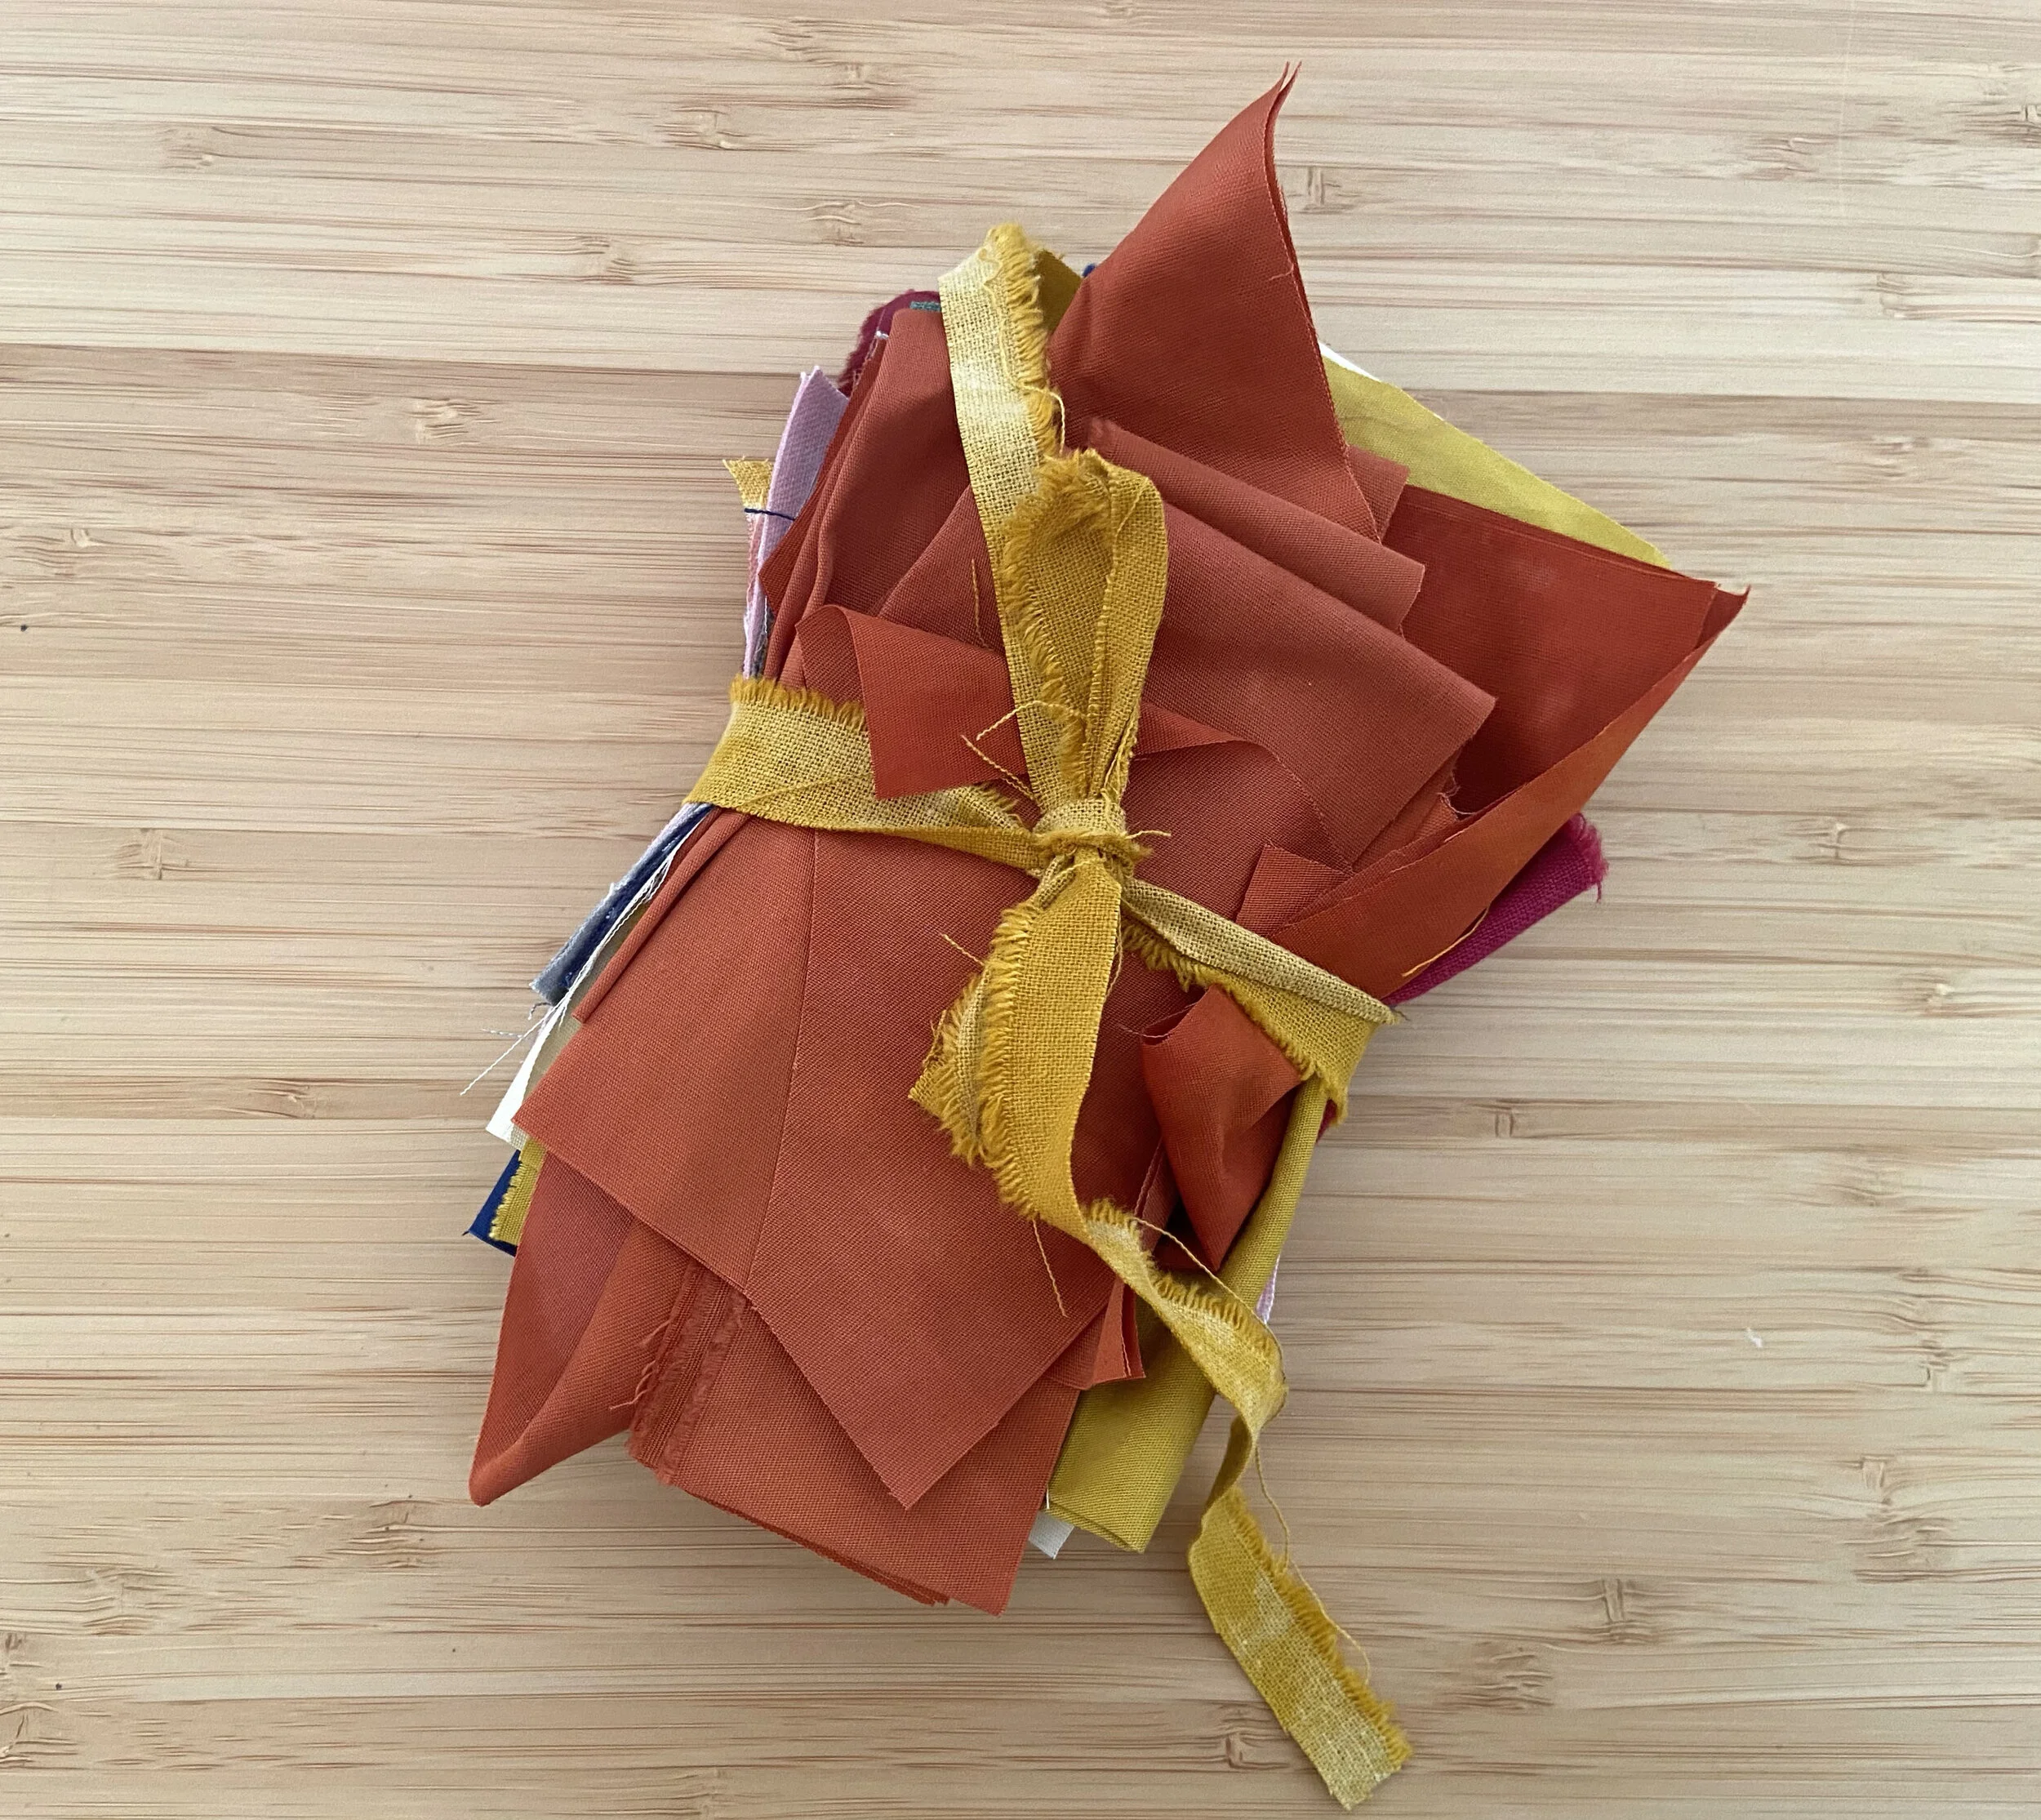
I knew I wanted to preserve the interlocking quality of the original and, at first, to interpret the design in ombre-dyed fabrics.

Wall quilt and pillow in ombre shades of rust and indigo. Both items available as made-to-order pieces in my store.

Though simplified, I felt like these versions stuck pretty closely to the original design. I started to wonder how it would look as a drawn element.

I made two versions of this pillow, both hand drawn with dye on to a dyed base fabric. The top is quilted and backed with a zippered backing also crafted in a hand dyed fabric.

…or on a much larger scale…

Rainbow Coil measures about 72” x 72”

The early versions featured arcs that felt a bit squared off. What if I played with that?

Mini Coil in hand dyed cottons in an ombre color way.

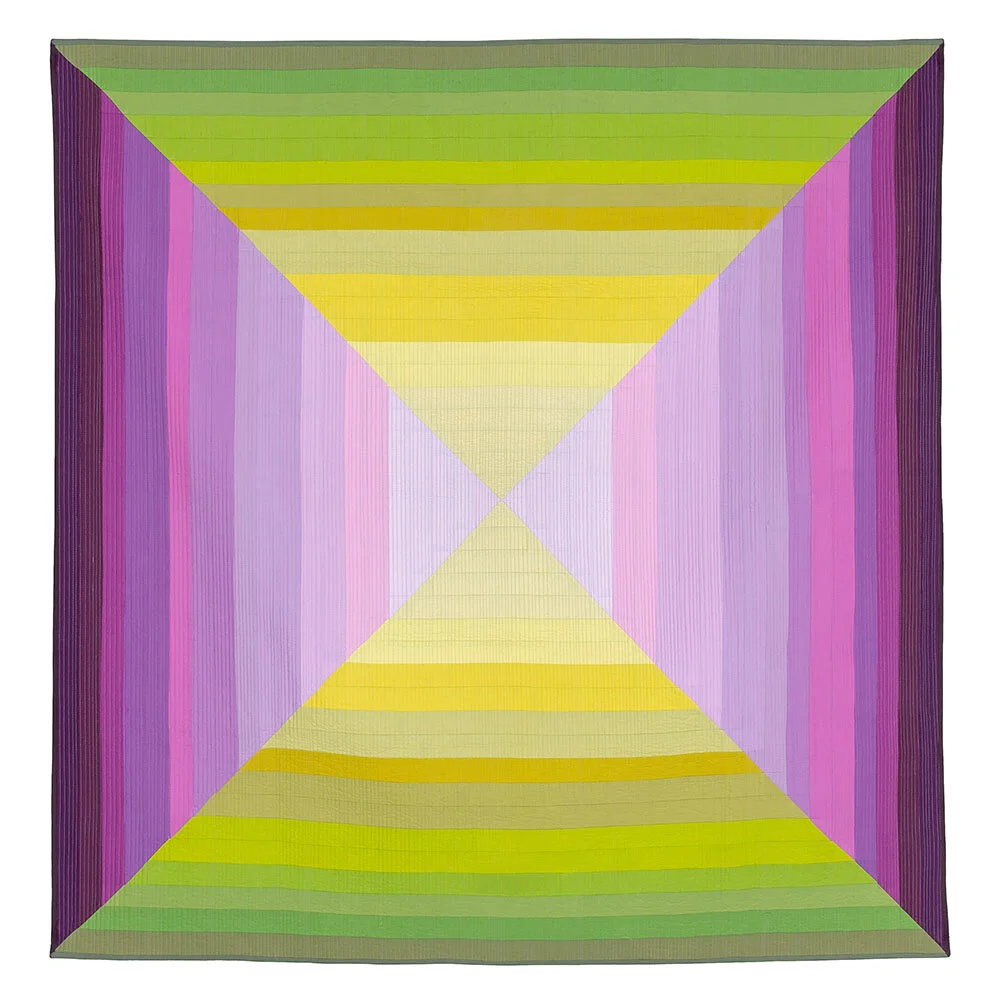
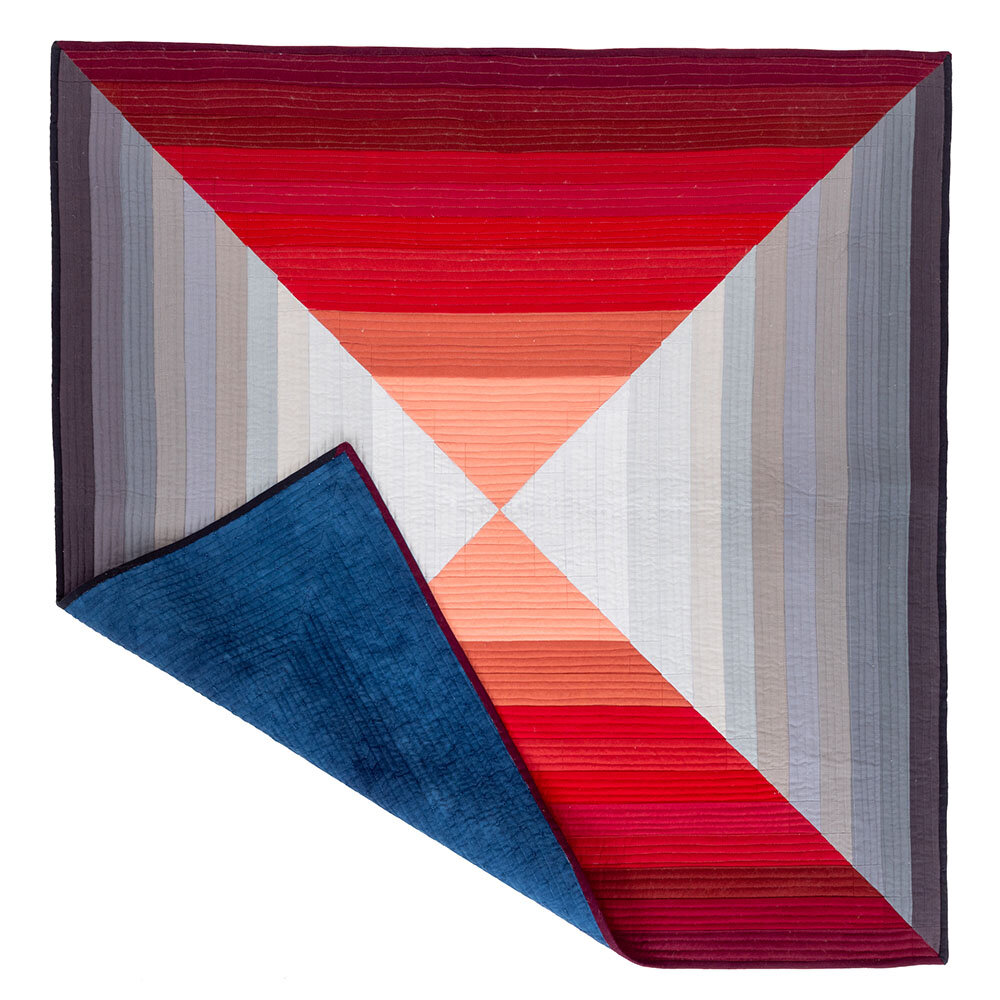
What if the coils were made out of different ombre color ways?

Should the coils speak?

H O P E quilt

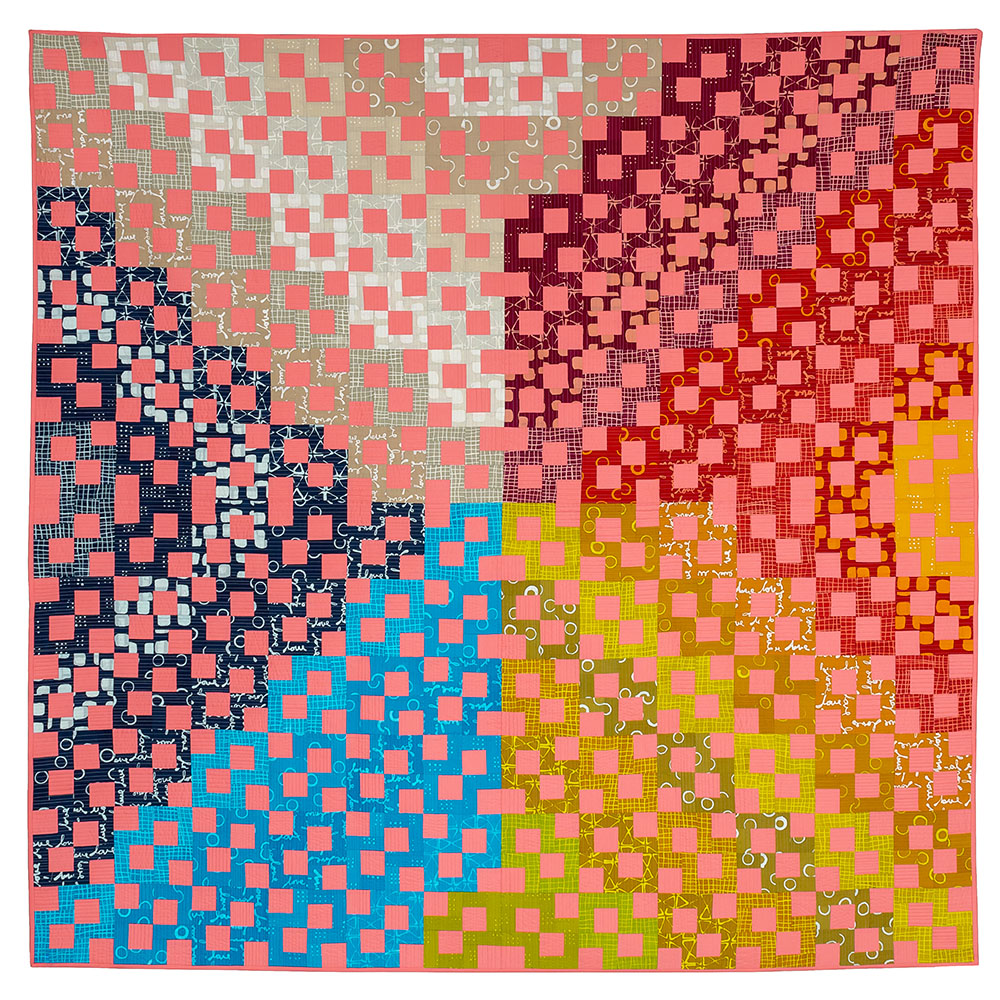
What would they look like in other color ways?

Cover image for the C O I L mini quilt pattern

As a longtime garment sewist, could I find a way to marry those interests?

Friday Pattern Company’s Ilford jacket re-imagined as a quilt coat.

Hey June Handmade’s Greer Jumpsuit with Coil pockets.

I don’t know what I’ll do with this design next, but I do know it’s time to share it with others and see what they make. So, my latest iteration is to write the pattern with instructions and illustrations and templates. I can’t wait to see your C O I L S!


From Scratch

The other day, I made tortillas from scratch. Looking back, it wasn’t that monumental, but I felt like I had conquered a personal hurdle. In retrospect, my response seems a bit odd. I love to cook and often try new recipes or experiment with flavors. I bake bread, pizza dough, and crepes, yet I deemed tortillas new terrain. Of course, once I made a few, I had to laugh at my previous apprehension and reveled in the empowerment that comes with making.

You know what I’m talking about: that swell of pride you feel when someone compliments a hand crafted sewn or knitted item and you respond with, “ Thanks, I made it!” The pride goes hand in hand with a satisfying feeling of control. You have some agency in your experiences, even if we’re just talking about what you had for breakfast or are wearing to the store.

That feeling is multiplied when you’ve had a hand in the creation from the very beginning. That’s one of the reasons folks grow their own vegetables, spin their own yarn, and pattern and dye their own fabric.

It’s what brought me to patterning and dyeing fabric. I wanted to be the maker from scratch.

Whether it was quilts:

Rainbow Coil Quilt, 72” x 72”, hand dyed cottons

Rainbow Coil Quilt, 72” x 72”, hand dyed cottons

or pillows:

Hand dyed improv pieced pillow.

Hand dyed improv pieced pillow.

Here too, all the fabrics were hand dyed and patterned. Can’t take credit for the cat :).

Here too, all the fabrics were hand dyed and patterned. Can’t take credit for the cat :).

Or garments:

Ogden Cami designed by True Bias made out of hand dyed and patterned cotton lawn.

Ogden Cami designed by True Bias made out of hand dyed and patterned cotton lawn.

For me, the experience of sewing pretty much anything is enhanced by stitching it out of hand crafted fabric.

I’m not alone in that sentiment, as I’m often asked about teaching dye workshops. Sadly, the logistics of transporting class materials is a huge limiting factor in traveling for in-person classes.

Enter the Pandemic and teaching over Zoom. Having already had some zoom experience, I reasoned that these techniques could be taught virtually. I designed a three-part series focused on teaching the dye techniques I use to create just about everything I sew or sell.

With a combination of pre-recorded videos, a shared slide presentation, and multiple cameras I demo and explain the processes I use for my patterned and ombre dyed fabrics. As an added bonus, folks don’t have to wait until I show up in their town, they can join my class, supplies in hand, from the comfort of their basements/garages/backyards.

Currently, I’m offering T O N A L , Design & Dye, and R E S I S T . T O N A L focuses on basic dye information while teaching the student how to dye gradients of a single color, Design & Dye delves into creating pattern without resist , and R E S I S T is all about combining wax resist with dye. The classes do build on themselves, but both T O N A L and Design & Dye are geared for beginners with some of the information repeated.

My spring schedule is up with workshops slated for May and June.

Come join me. We’ll be making it all from scratch!

Scrap Makes :: Mini Animal Quilts

I love an empty refrigerator. When it’s empty it usually means EVERYTHING has been used. Granted, it could signal that everything rotted and was thrown away, but imagine it’s empty because all the items were consumed. As a devotee of sustainability, I like that.

This translates to my scrap basket as well and, to that end, I sell bundles of hand dyed cotton and linen scraps in my store.

The idea originated with another online retailer that sold patch kits of matching fabrics for their clothes. I hadn’t bought the clothes, but the fabric scraps appealed to me and I ordered the patch kits which were sold by weight. Wanting to do something special with these lovely leftover bits, I combined them with my hand dyed linen to make a series of pillow covers:

patch kit pillow in black.jpg
patch Kit pillow indigo 2.jpg
Patch kit pillows rust and indigo.jpg

I loved the mystery of not knowing exactly what would come in the random collection of scraps as well as the challenge of organizing and directing them toward a beautiful and useful project.

An idea was born! In the course of hand patterning and dyeing fabric for my customers and myself, many scraps are created. I test patterns and colors, dye gradients of a color and don’t use or sell all, or just get carried away dyeing fabric and it doesn’t have a home in my projects. All these activities created scraps which I weighed (each bundle weighs 4 oz.) and tied and listed in my shop.

I’m assuming you all the mystery and challenge of creating with scraps because these quickly became my bestselling item.

Which, of course, led to a new desire: cataloguing and creating projects to inspire present and future scrap bundle purchasers. The cataloguing was pretty easy. I created a Pinterest Board, Scrap Makes, with a variety of projects.

Creating was a little more challenging. I wanted to feature projects beyond just patching together the scraps to make coasters or potholders. Though terrific projects and super-useful, they’re particularly original.

A friend’s pregnancy inspired what I hope will be the first of a series of Scrap Makes.

I wanted to make a group of mini, animal-themed, wall quilts to hang in the baby’s nursery and I envisioned these simple, yet graphic, creatures crafted out of a scrap bundle.

scrap bundle tied.jpg
Fabric is pretty lightweight, so 4 oz. is actually a good amount of fabric!

Fabric is pretty lightweight, so 4 oz. is actually a good amount of fabric!

Having spread out the contents of the bundle, I organized the fabrics into two groups, warm and cool colors. I selected a few in each group, combined these bits with coordinating hand dyed solids for the backgrounds of my mini quilts, and started stitching.

Animal Minis 2.jpg
Animal minis 1.jpg

The variety of scraps and size of the patches in each mini quilt dictated a bit of piecing, but I was left with plenty of fabric for at least one more project and, if combined smartly with other fabrics, possibly two.

The plan for project #2 is already hatched, so stay tuned for that. In the meantime, I’m curious, what will you make with your bundle?

January Pattern :: Four Triangle Ombre

I love making resolutions. A goal-setter by nature, resolutions feel like opportunities and, though I have plenty of shortcomings, I usually stick to the bulk of them.

So, I eagerly embraced Gretchen Rubin’s idea of making 20 resolutions for 2020 and included releasing a PDF pattern per month on that list. This might seem like a big goal to tackle, but, having been a pattern designer and writer for many years, I have a small library of patterns that I wrote and illustrated for publication and, according to contracts, now belong exclusively to me.

My hope in re-designing and updating these patterns is to make them part of my collection rather than have them live separately somewhere else.

My first PDF pattern and it’s not lost on me that today is last day of January, but, hey, it’s STILL January, is Four Triangle Ombre.

four triangle ombre pattern cover.png

The top version was originally featured in Modern Patchwork Magazine about 3 years ago and has since been exhibited at QuiltCon in 2019. The bottom and smaller version was created almost on a lark out of leftovers from my Medusa 2.0 quilt.


Four Triangles Ombre Full view resized.jpg

What really got my butt in gear was the fact that I’ll be teaching this design at QuiltCon at the end of February and wanted to offer paper patterns to my students as well as in my booth. That takes a few weeks of lead time, so finished by January it needed to be.

Four Triangle Ombre 2.0 detail 1 resized.jpg

This design combines so many loves for me: simple design both in concept and execution, creating movement through changing values, and using as much or all of the fabric purchased for a given project. That last love may seem out of place, so practical compared to the other more aesthetic-based ones, but it has become a core value in my making practice.

And another of my 20 for 20 resolutions.

More about that later. Today is about this pattern release. Available as a PDF, the fully illustrated pattern includes step-by-step directions for making this design as shown in the top image or in the colors and to the size of your choosing. I’ve included a piecing diagram and a coloring page, crucial for planning your fabric choices.

If you’re interested in this pattern and want to see the finished quilts in person, come by my booth at QuiltCon in Austin, Texas February 20-23.

If you’re a fabric or quilt store looking for paper patterns or a guild interested in having me teach this class, feel free to email me here:

My Medusas

It’s a little hard to believe that my first self-published pattern of 2019 didn’t release until this month, but I think I needed that hiatus to clarify my process for pattern writing.

Also, I find it particularly sweet that my latest pattern is an offshoot of one of my all-time favorite designs.

I published a pattern for this quilt, Medusa, about 18 months ago:

The original Medusa pattern is available in both PDF and paper formats.

The original Medusa pattern is available in both PDF and paper formats.

I called it Medusa and I was and remain very proud of the design. It marked a transition for my design work, a clearer sense of my aesthetic vision.

Though, even as I completed this quilt, I knew I wanted to craft a second, simpler, solids-based version. The original Medusa was created to feature fabrics in my collection for Robert Kaufman Fabrics, Mark to Make, and I loved the challenge of using prints to create a strong, graphic image. But solids really speak to me because communicating movement and shifting light as well as clear, visible shapes is so much easier without the extra element that a print brings.

So, I made this quilt:

Medusa 2.0 is available as a PDF download.

Medusa 2.0 is available as a PDF download.

Focused on two fat quarter bundles in gradients of red and grey with a single hand dyed solid as the background fabric, this version is smaller and, maybe, easier to imagine adapting to a different color palette. Making it your own could be as simple as swapping out the red-based bundle for one featuring a different color.

The design is planned in quadrants, so it’s also possible to play with value and color variations there instead of across the center seam of the quilt.


Medusa 3.0 top.jpg

This top features four quadrants in two color gradients, warm and cool. Here, all the fabrics are hand dyed, but it would be simple to reproduce in commercial solids.

Currently, Medusa 2.0 is available as a PDF download, but I’ll be reformatting the pattern for paper also.

I’m also playing around with hosting a sew-along and would appreciate your feedback. Interested?

New Workshops

I’ve planned to add a workshop page to my website for a while, a long while. But, truth be told, I’d ALWAYS rather make something than work on my website and one of the benefits of being self-employed is also one of its perils: you’re the boss.

Lately though life events have reinforced the fact that I don’t have forever and just wanting something to be is not enough. I have to make it happen.

So, the other day I asked myself what kinds of classes I wanted to teach and why. In the past I’ve let that be dictated by the folks who invited me, but, now I wanted to more intentional and decided to focus all my offerings around a single concept: Simple Design.

Simple Design is my foundational ideal and the basis of most of my designs in recent years. I define it as the use of simple blocks and techniques that, combined with thoughtful fabric choices and placement, make complicated-looking, seemingly multiple- patterned quilts. All the quilt patterns I feature in the classes listed on my workshops page are constructed of strips, squares, and half triangle squares. There’s nothing more complicated than that. Additionally, many of the designs rely on components of same or similar measurements throughout.

For instance, in both versions of Medusa just three measurements are needed, two different strip lengths and a square. All the design decisions are focused on creating movement across the quilt top via color and placement. I want to liberate folks to explore these concepts without sweating complex technical issues.

Despite the classes falling under the same umbrella concept, each workshop is unique, both in terms of finished product and the design challenges. All will help you grow as a modern quilt artist, which, by the way, you are, whether this is your first or your 100th quilt. I say that because, along with my belief in the value of simple design to unleash creative thinking, I think making/art is not exclusive to a few “talented” people, but available to everyone.

Curious to know more? Feel free to contact me.